Getting Started with Your First Sketch
You know, after teaching drawing classes here in Montreal for over thirty years, I still remember that first moment when someone picks up a pencil with real intention. There's this mixture of excitement and terror in their eyes - like they're about to jump off a cliff. And maybe they are, in a way.
Sketching isn't just about making pretty pictures. It's about learning to see the world differently, about training your hand to follow your eye, and your eye to really look at things instead of just glancing at them. When I started sketching back in the seventies, we didn't have all these fancy art supplies you see today. We had a pencil, maybe two if we were lucky, and whatever paper we could find.
But here's what I've learned from all those years of watching students struggle and then suddenly "get it" - sketching is really about permission. Permission to make mistakes, permission to see things your own way, and permission to put your own mark on the world. Whether you're sitting in a café on Saint-Catherine Street trying to capture the way the light hits someone's face, or you're out in Parc La Fontaine sketching the ducks, it's all about that honest conversation between you and your subject.
This guide will take you through everything you need to know to start that conversation. We'll talk about tools - but not in that overwhelming way that makes you think you need to spend hundreds of dollars before you can draw a single line. We'll explore techniques that actually work, not just the fancy ones that look impressive in art books. And most importantly, we'll help you develop the confidence to trust your own eyes and your own hand.
Essential Tools: What You Actually Need
Let me save you some money right off the bat. You don't need that expensive art set with forty-seven different pencils and erasers shaped like little animals. I've seen students create beautiful sketches with a basic HB pencil they borrowed from someone else. The tools don't make the artist - the practice does.
Start with three pencils: a 2H for light, precise lines, an HB for general sketching, and a 2B for darker tones and shading. You can find these at any Staples or art store across Canada for under ten dollars. Add a kneaded eraser - not those pink ones that just smudge everything around, but a proper kneaded eraser that you can shape and mold. It'll become one of your best friends.
For paper, forget the fancy sketchbooks for now. Get a simple spiral-bound pad with medium-weight paper. The kind you'd use for school notes works just fine. I actually prefer it because it doesn't feel precious - you're more likely to experiment when you're not worried about "wasting" expensive paper.
The Canadian Sketcher's Kit
Living in Canada means dealing with weather that can change from beautiful to brutal in about five minutes. Your sketching kit needs to be portable and weather-resistant. I keep mine in a small plastic pencil case - the kind kids use for school. It fits in any pocket or purse, and if it gets caught in one of those sudden downpours we get in spring, everything stays dry.
Add a small blending stump and a regular eraser, and you're set. The whole kit shouldn't cost more than twenty-five dollars, and it'll serve you well for months of sketching. Remember, you can always upgrade later, but starting simple helps you focus on learning rather than fumbling with tools you don't understand yet.
Understanding Basic Shapes and Forms
Here's something that might surprise you - everything you want to draw can be broken down into basic shapes. That complicated-looking building downtown? It's really just rectangles and triangles stacked together. That person sitting across from you on the bus? Their head is basically an oval, their torso a rectangle, their arms are cylinders.
I spend the first month with new students just drawing circles, squares, triangles, and rectangles. Not because it's exciting, but because it's fundamental. When you can draw a good circle freehand - and I mean a really round circle, not something that looks like it's been through a hockey fight - you're developing hand-eye coordination that will serve you for everything else you draw.
Practice drawing these shapes from your shoulder, not your wrist. Your whole arm should move. It feels awkward at first - like trying to write your name with your non-dominant hand - but it gives you much more control and fluidity. Fill pages with circles. Draw them big, draw them small, draw them fast, draw them slow.
From Flat Shapes to Three-Dimensional Forms
Once you're comfortable with flat shapes, it's time to give them volume. A circle becomes a sphere, a square becomes a cube, a triangle becomes a cone. This is where the magic starts to happen - where your drawings start looking like they exist in real space instead of just sitting flat on the paper.
The secret is understanding light and shadow. Light doesn't hit all parts of an object equally. There's the part facing the light source - that's your highlight. There's the part turning away from the light - that's your midtone. And there's the part completely turned away - that's your shadow. Master this on a simple sphere, and you can apply it to anything.
The Art of Observation: Training Your Eye
Most people think they know what things look like. Ask someone to draw a bicycle from memory, and you'll get something that might work in a cartoon but wouldn't roll down the street. The problem isn't their drawing ability - it's that they've never really looked at a bicycle. They know the concept of "bicycle," but they haven't observed the specific relationships between the parts.
Learning to observe is like learning a new language. At first, everything looks like random marks and shapes. But gradually, you start to see relationships. You notice that the distance from someone's eyes to the top of their head is about the same as the distance from their eyes to the bottom of their nose. You see that shadows aren't just "dark parts" but have their own colors and temperatures.
I tell my students to spend time just looking before they draw anything. Pick an object - your coffee mug, a houseplant, whatever's handy - and really study it for five minutes. Don't draw, just look. Notice things you've never seen before, even though you've looked at this object hundreds of times.
Measuring and Proportions
Here's a technique that will immediately improve your drawing accuracy. Hold your pencil at arm's length and use it as a measuring tool. If you're drawing a building, you might notice that the width of the door is about one-third the height of the first floor. Or that the person's head fits into their body about seven times.
This isn't about being mathematically precise - it's about seeing relationships. When something looks "wrong" in your drawing, it's usually because the proportions are off. The head is too big for the body, or the windows are too small for the building. Training your eye to see these relationships will solve most of your drawing problems before they start.
Line Quality: Making Every Mark Count
Not all lines are created equal. A line can be confident or hesitant, smooth or rough, light or dark. Each type of line communicates something different to the viewer. When I see a drawing full of sketchy, uncertain lines, I can tell the artist was afraid of making a mistake. When I see bold, confident lines, I know the artist was committed to their vision.
Practice drawing different types of lines. Draw lines that start light and get darker. Draw lines that vary in thickness. Draw lines that are perfectly straight and lines that have character and movement. Your pencil is like a musical instrument - the more you understand its range, the more expressive your drawings will become.
One exercise I give all my students is to draw the same simple object - say, an apple - using different types of lines. First, draw it with very light, delicate lines. Then draw it with bold, heavy lines. Then try varying the line weight - thick where the form turns away from you, thin where it faces you. You'll be amazed at how different the same object can look.
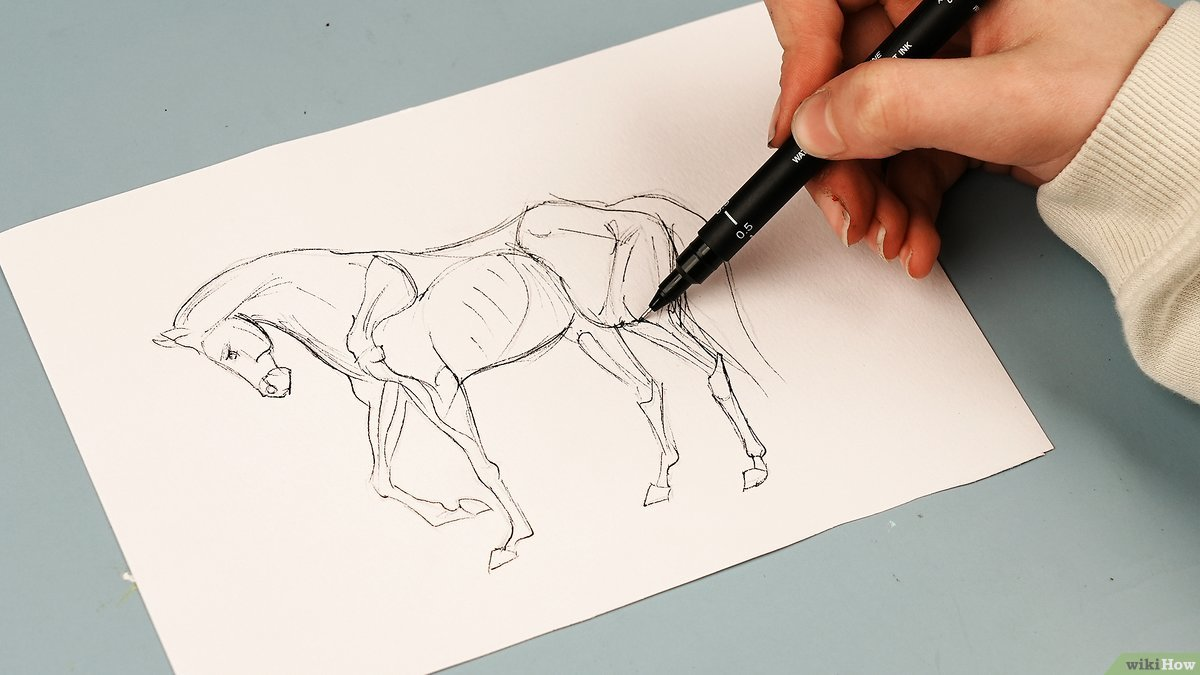
Contour Drawing: The Foundation Skill
Contour drawing is like meditation with a pencil. You put your pencil on the paper and follow the edge of your subject with your eyes, letting your hand follow along. The goal isn't to create a perfect drawing - it's to create a direct connection between what you see and what your hand does.
Try blind contour drawing - where you don't look at your paper at all, just at your subject. The results will look weird, maybe even funny, but you'll be training your eye and hand to work together in a way that no amount of careful, controlled drawing can achieve. It's like learning to dance - you have to let go of trying to control everything and trust the process.
Light, Shadow, and Creating Depth
Understanding light is what separates a flat drawing from one that seems to pop off the page. Light doesn't just illuminate objects - it describes their form, their texture, their relationship to space. When you really understand light, you can draw anything, because light follows predictable patterns no matter what you're drawing.
Start by identifying your light source. Is it coming from above, like sunlight through a window? From the side, like a table lamp? From multiple directions, like indoor lighting? Once you know where the light is coming from, you can predict where the shadows will fall and how dark they'll be.
There are basically five tones you need to understand: the highlight (where the light hits directly), the light tone (the illuminated side), the midtone (where the form starts to turn away from light), the shadow (the side away from light), and the reflected light (light bouncing back into the shadow from other surfaces). Master these five tones, and you can make any drawing look three-dimensional.
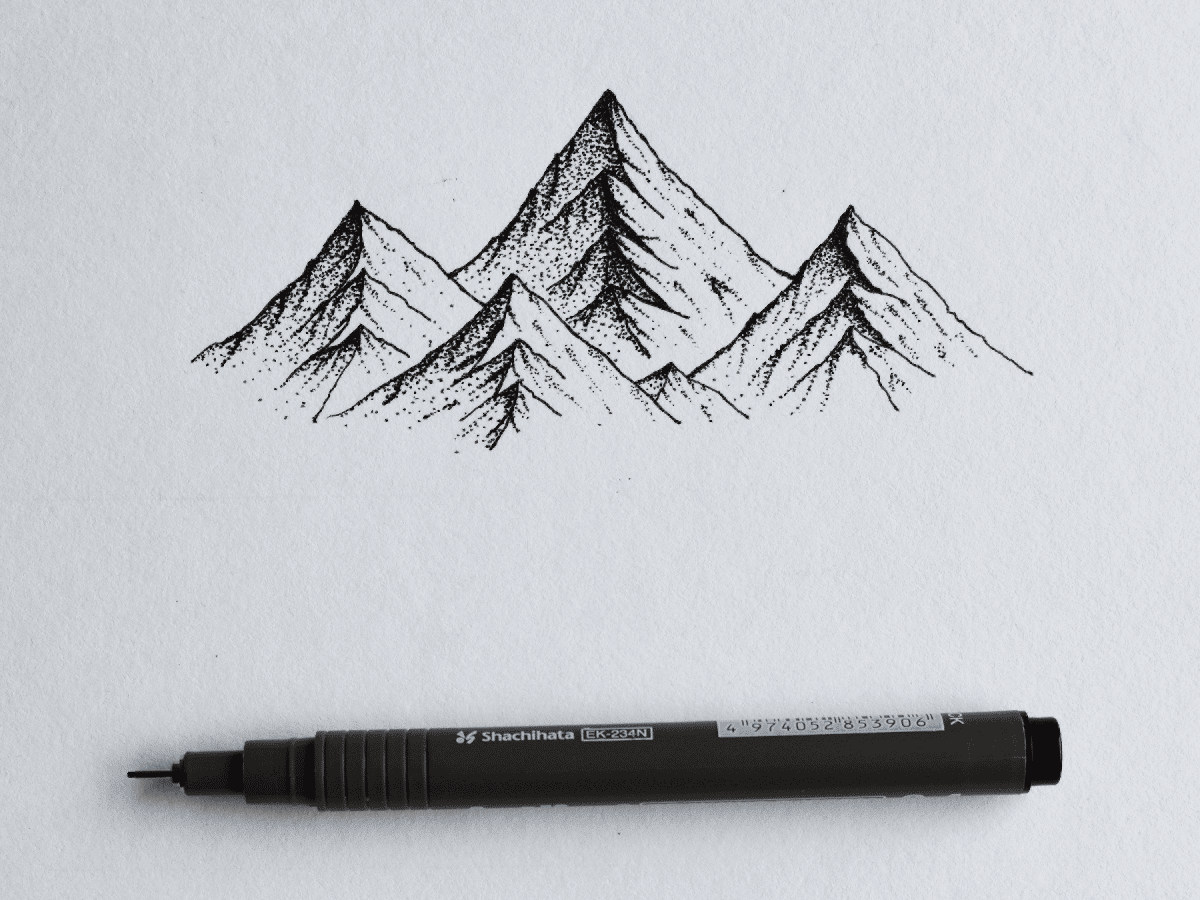
Shading Techniques That Actually Work
Forget everything you think you know about shading from coloring books. Real shading isn't about staying inside the lines or making everything perfectly smooth. It's about building up tones gradually and purposefully.
Start with light pressure and build up slowly. You can always make something darker, but it's much harder to make it lighter. Use the side of your pencil for broad areas of tone, and the point for details and edges. Don't be afraid of leaving some areas completely white - those highlights are just as important as the shadows.
Hatching and cross-hatching are your friends, but use them thoughtfully. The direction of your lines can describe the form they're shading. Curved lines for round objects, straight lines for flat surfaces, diagonal lines for slanted planes. Every mark you make should have a purpose.
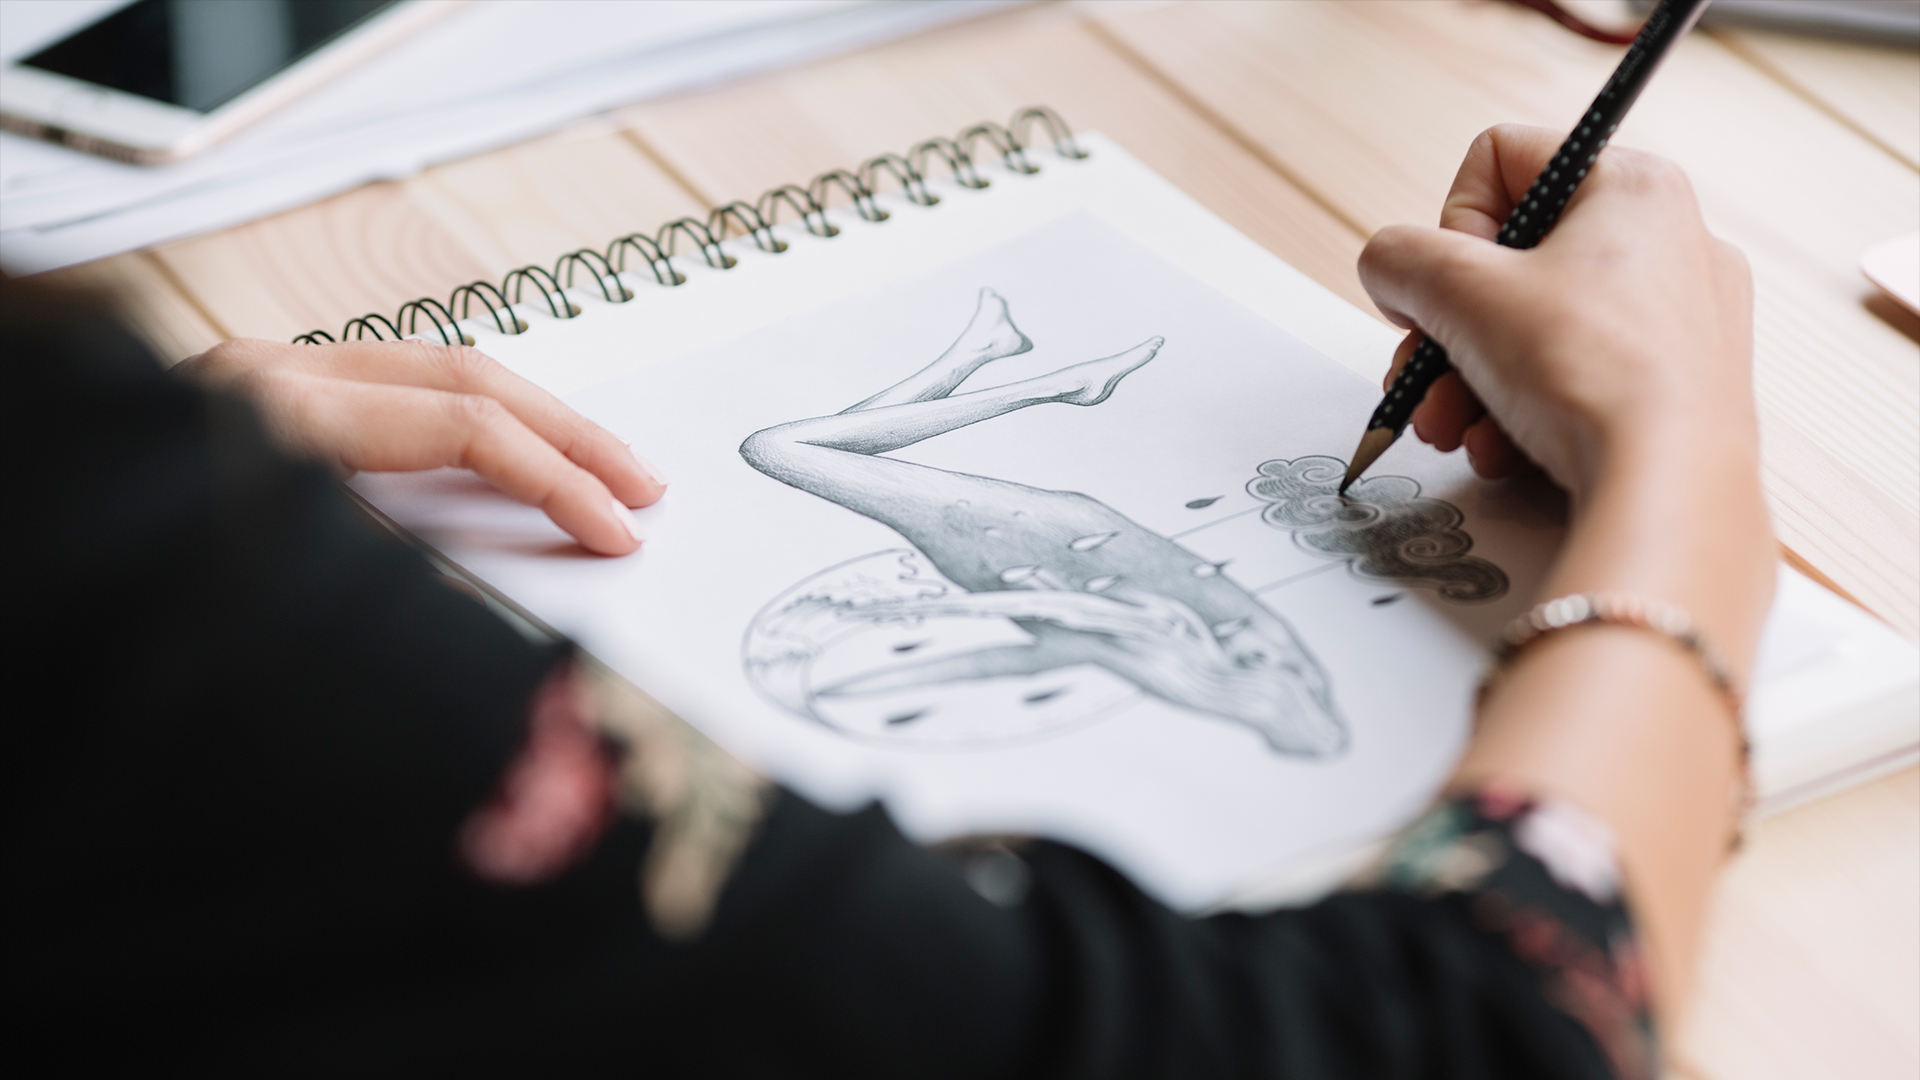
Composition: Making Your Sketches Interesting
You can have perfect technique and accurate proportions, but if your composition is boring, your drawing will be boring too. Composition is about making choices - what to include, what to leave out, where to place things on your paper. It's the difference between a snapshot and a work of art.
The rule of thirds is a good place to start. Imagine your paper divided into nine equal sections by two horizontal and two vertical lines. Placing your main subject where these lines intersect usually creates a more interesting composition than centering everything. But rules are meant to be broken - once you understand why the rule of thirds works, you'll know when to ignore it.
Think about the negative space - the empty areas around your subject. These spaces are just as important as the subject itself. A crowded drawing can feel chaotic, while too much empty space can feel lonely. Finding the right balance is part of what makes composition an art rather than a science.
Creating Visual Flow
A good composition leads the viewer's eye through the drawing in a purposeful way. You can create this flow with lines - both obvious ones like roads or fences, and subtle ones like the edge of a shadow or the direction someone is looking. You can use contrast to create focal points - areas of high contrast draw the eye first.
Practice making thumbnail sketches before you start your final drawing. These are tiny, quick sketches where you work out your composition. Try the same subject in different arrangements - close up, far away, from different angles. You'll be surprised how many options you have for even the simplest subject.
Common Mistakes and How to Fix Them
After three decades of teaching, I've seen the same mistakes over and over again. The good news is that once you know what to look for, these problems are easy to fix. The most common mistake I see is students trying to draw details before they've established the basic structure. It's like trying to paint a house before you've built the frame.
Always start with the big shapes and work toward the details. Get the overall proportions right before you worry about eyelashes or brick textures. If the basic structure is wrong, no amount of careful detail work will save your drawing.
Another common problem is being afraid of dark tones. Many beginners draw everything in light gray, afraid to commit to really dark shadows. But contrast is what makes a drawing interesting. Don't be afraid to go really dark in your shadow areas - it will make your lights look brighter and your drawing more dynamic.
The biggest mistake, though, is expecting perfection too soon. Learning to draw is like learning to play piano - you wouldn't expect to play Chopin after your first lesson. Give yourself permission to make bad drawings. Every professional artist has boxes full of terrible sketches from when they were learning. The difference between someone who becomes good at drawing and someone who gives up is simply persistence.
Developing Your Daily Practice
The secret to getting better at sketching isn't taking more classes or buying better tools - it's drawing regularly. Even fifteen minutes a day will improve your skills faster than drawing for three hours once a week. Consistency builds muscle memory and trains your eye in a way that sporadic practice never can.
Keep a small sketchbook with you always. Draw during your lunch break, while waiting for the bus, during commercials. These quick sketches don't need to be masterpieces - they're exercises, like a musician practicing scales. The goal is to keep your hand and eye working together, to stay in the habit of really looking at things.
Set small, achievable goals. Maybe this week you'll focus on drawing basic shapes confidently. Next week, you'll work on simple shading. The week after that, you'll try some contour drawing. Small improvements add up to big changes over time, and you'll stay motivated because you're actually achieving what you set out to do.
Remember, sketching is supposed to be enjoyable. If you're getting frustrated, take a break. Sometimes the best thing you can do for your drawing is to put the pencil down and come back to it later with fresh eyes. The paper will still be there, and often you'll see solutions that weren't obvious when you were struggling.
The journey of learning to sketch is really a journey of learning to see. Every drawing you make, whether it turns out well or poorly, teaches you something. Some days your hand will feel coordinated and confident, other days it will feel like you're drawing with mittens on. That's normal - that's part of the process.
What matters is that you keep showing up, keep putting pencil to paper, keep looking at the world with the curious eyes of an artist. Before you know it, you'll find yourself noticing things you never saw before - the way light bounces off wet pavement after a rain, the elegant curve of a streetlamp, the character lines in someone's face. And when you can see these things, you can draw them. And when you can draw them, you've learned something valuable about both art and life.
json